While the report builder makes creating individual reports fast, if you’ve got a number of clients to create reports for, you won’t want to recreate the wheel each time if you’re sticking to the same report format.
Luckily that's where global reports come in.
Global reports are available for all customers. To access them, select 'reports from the menu.

Next, click on the arrow next to a customer to see reports:
 Select 'add a Report'
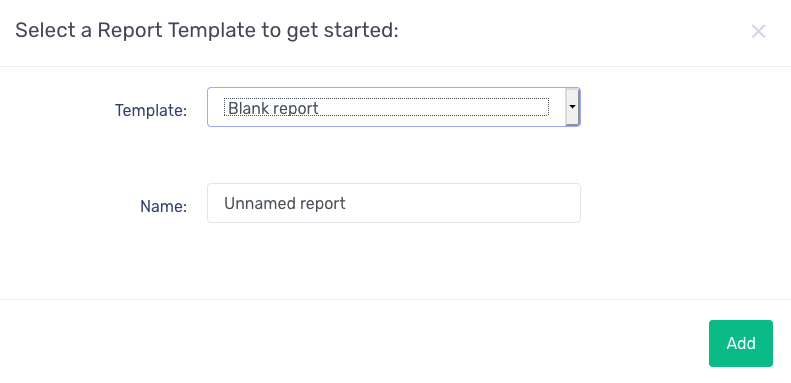
In the drop down, choose 'Blank report', and give your report a name.
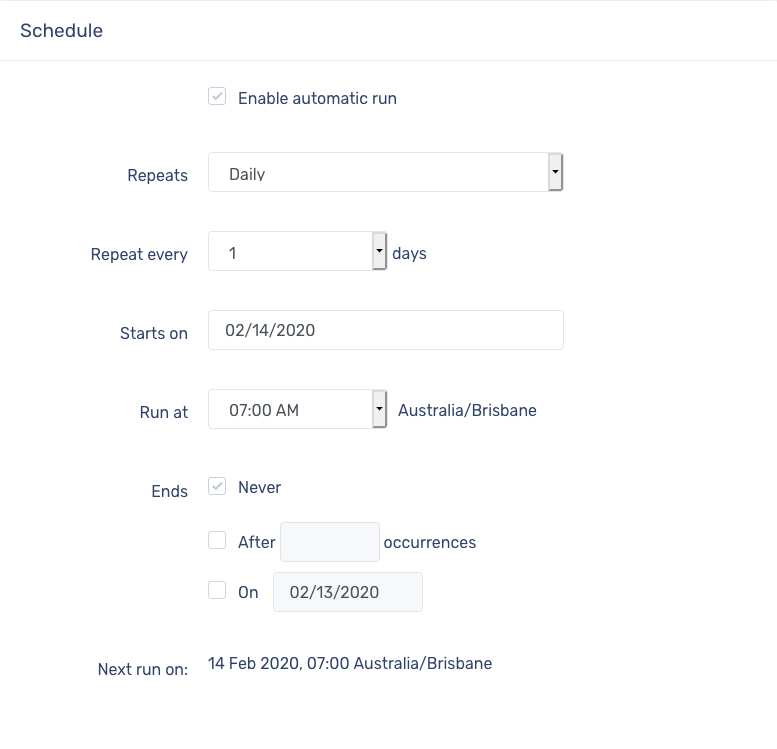
After you’ve given your report a name, you’ll find options to schedule your reports
define an email recipient by clicking 'add':
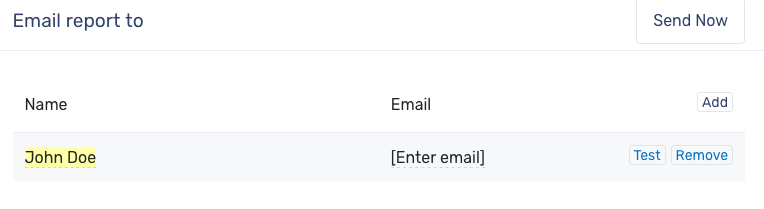
and update the email copy that gets sent with the report:
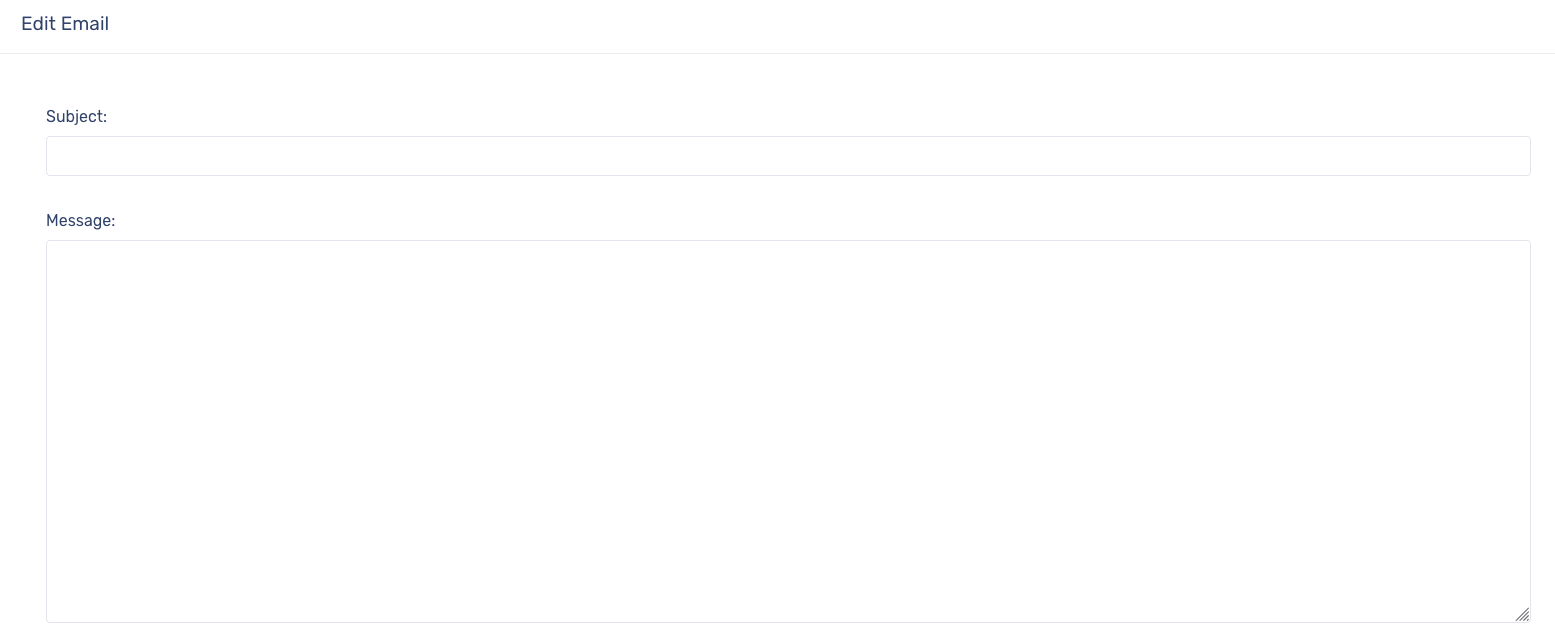
Once you're happy with your changes - hit 'save'.
Now you can begin editing your report.
In the report builder, you will find 'widgets' and 'settings':

Under settings, you'll have the ability to define a time period for the report For the time period by clicking 'add' and then clicking on 'PR1:All time' (all time is selected as default).
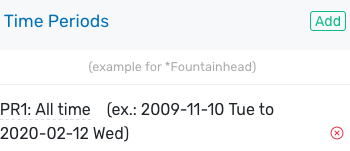
Choose the relevant time period for your reports, e.g. if this is a monthly report, set it to be ‘last month’. If you want to compare to another time period, simply hit the green 'add' button to add another period.
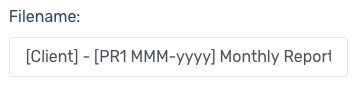
Under 'other' you'll find that you have the ability to change the file name for the report:
To start building your report, switch to 'widgets'.
You can start dragging and dropping widgets into the report builder window to build out your report. When happy, you can preview your report by clicking ‘preview’ in the top right corner, and selecting a client from the drop down. Your report preview will open in a new tab.

When you are done building your report, hit save.
Note - you will not be able to save a report if any fields are left empty.
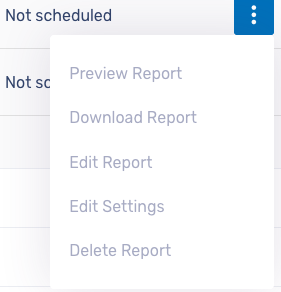
Back in your client’s reports screen; click on the arrow next to a customers name and find your report. To find options for that report, click on the three vertical dots: