
This article will walk you through creating a process that will label images sizes and text extended ads.
1. On the PPC Samurai dashboard, select the client you want to build a process for.
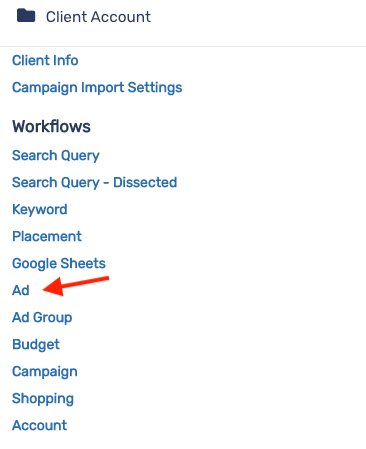
2. From within the Client Account section, click on Ad.
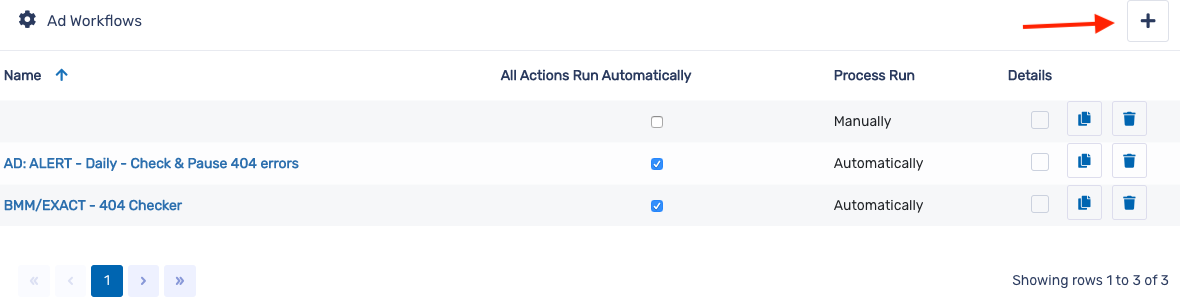
3. On the Ad Processes section, click on the + button.
4. On the New Process modal, enter a title for the process. Then, click on Save.

5. Select which campaigns you wish to run this process on.

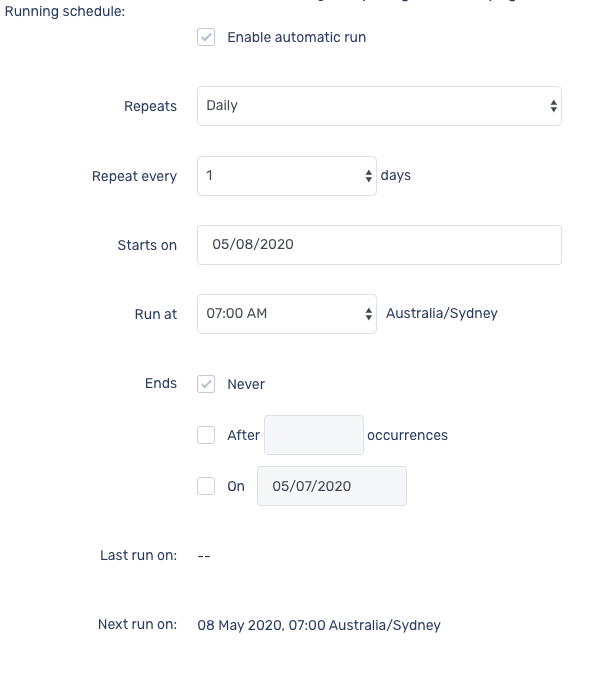
6. In the Automate section, click the Enable automatic run checkbox to run this process automatically. Select how often you want to repeat this process, the start date, end date and run time.
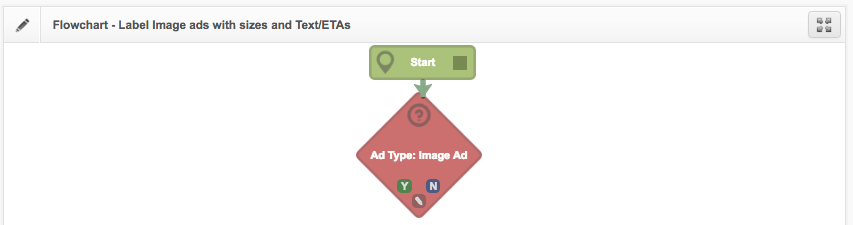
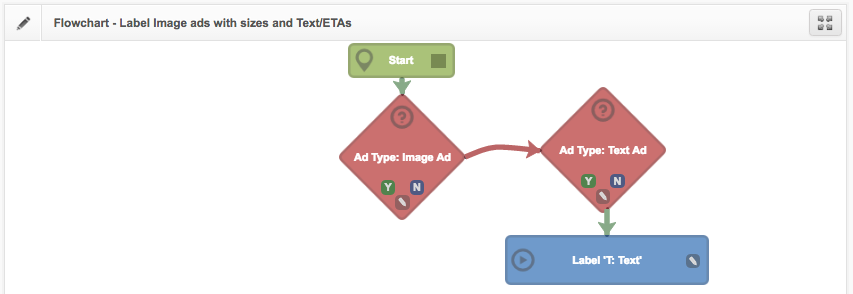
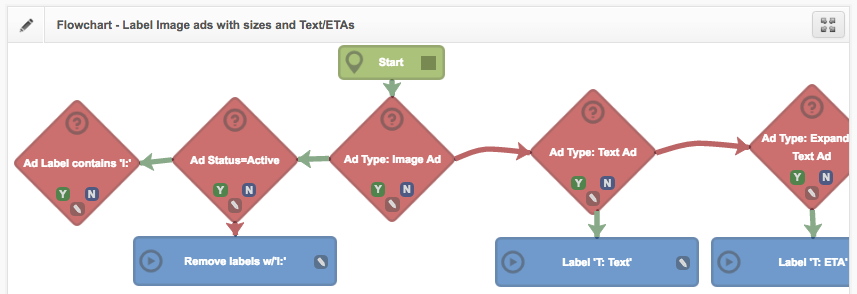
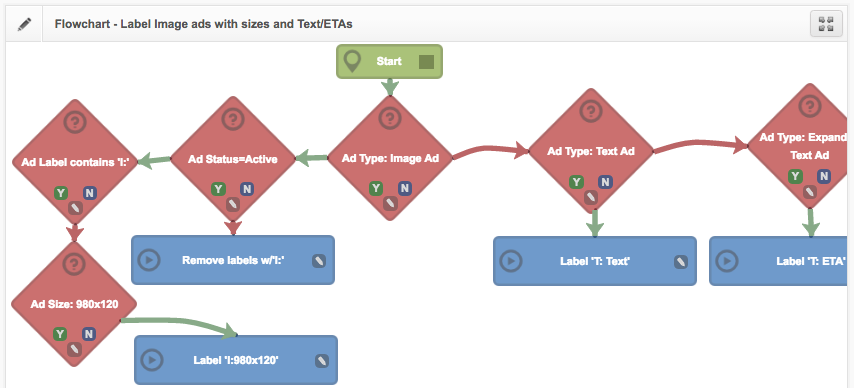
First, we're going to check if the ad is an image ad.
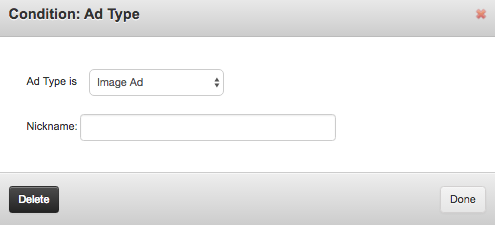
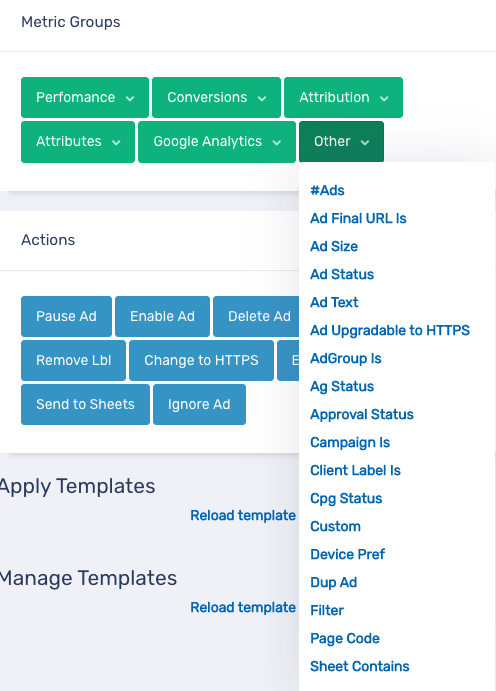
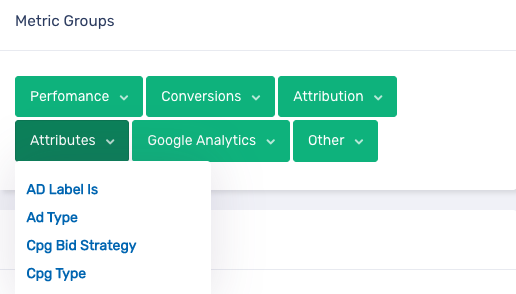
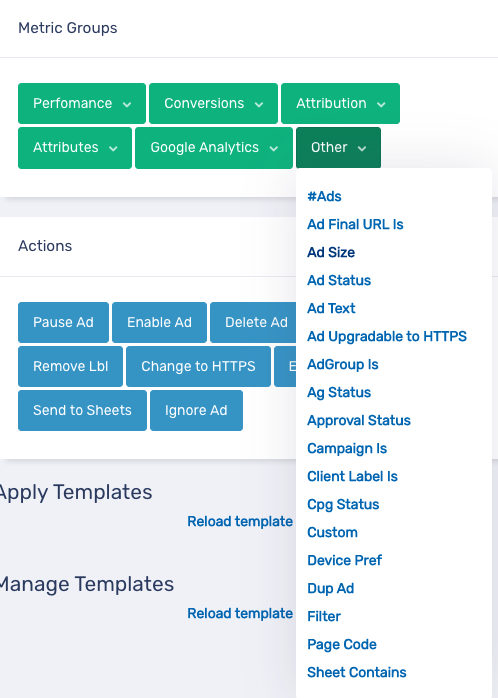
7. In the Metric Groups section, click on Ad Type under Attributes.
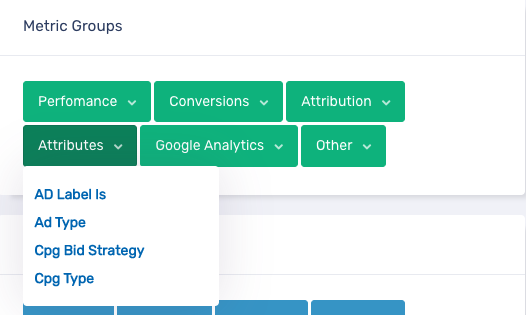
8. Select Image Ad in the Ad Type submenu. Then click Done.
9. Click and hold the dark square in the Start element, then drag it down and drop onto Ad Type element.
Next, if the ad is not a image ad, check if it's a text ad and add "T: Text" to the label.
10. In the Metric Groups section, click on Ad Type under Attributes.

11. Select Text Ad in the Ad Type submenu. Then click Done.
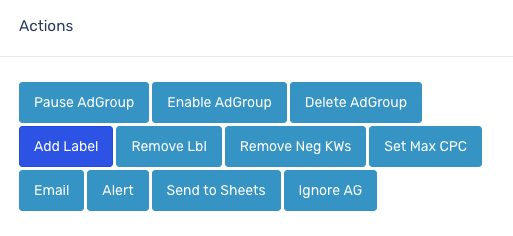
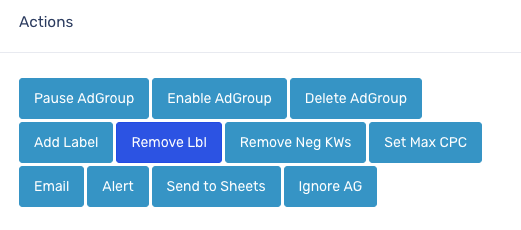
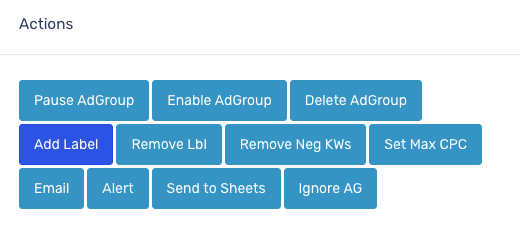
12. Click on Add Label in the Actions section.
13. In the Actions section, click on Add Label.
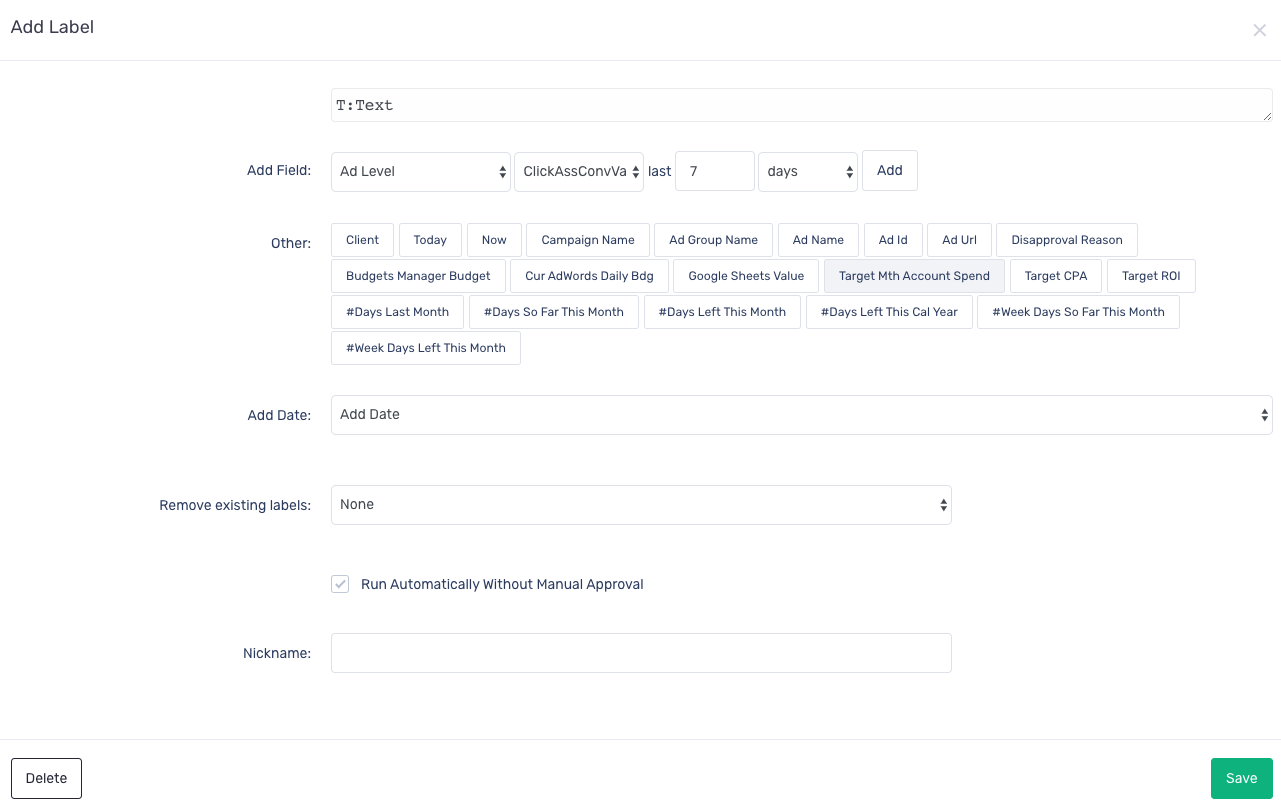
14. Enter T: Text in the field and click Save.
15. Click and hold the Y button Ad Type: Text Ad element, then drag it down and drop onto the Label element.
16. Click and hold the N button Ad Type: Image Ad element, then drag it down and drop onto the Ad Type: Text Ad element.
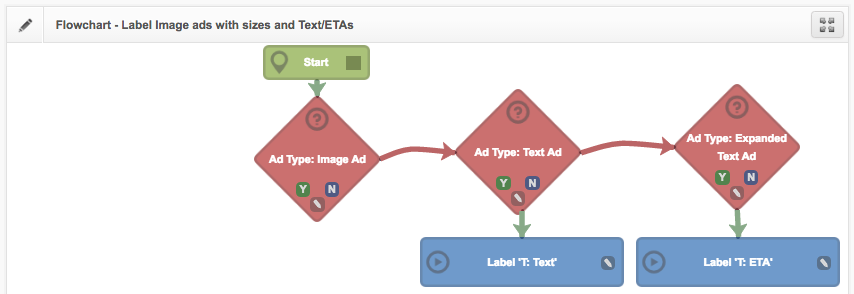
17. Repeat steps 10 to 16 for Extended Text Ads.
- Select Extended Text Ad in the Ad Type element.
- Change the label name to T: ETA
- Click and hold the N button Ad Type: Text Ad element, then drag it down and drop onto the Ad Type: Text Ad element.
Next, we want to check if the ad is active. If it's inactive, we'll remove any "I" from the label.
18. In the Metrics Group section, Click on Ad Status under the Other submenu.
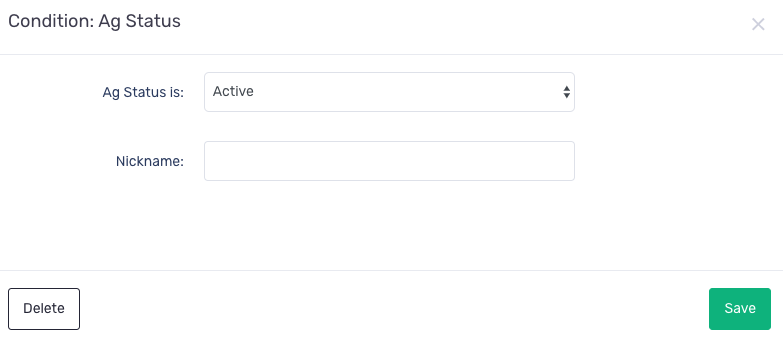
19. In the Condition: Ad Status modal, change the settings to the following and click Done.
20. Click and hold the Y button Ad Type: Image Ad element, then drag it down and drop onto the Ad Status element.
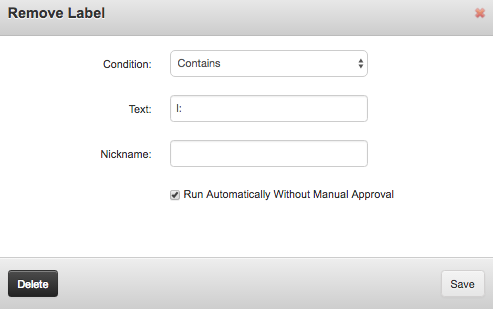
21. In the Actions section, click on Remove Lbl.
22. Change the settings to the following and click Save.
- Select Contains from the Condition submenu.
- Enter I: in the Text field.
23. Click and hold the N button Ad Status element, then drag it down and drop onto the Remove Label element.
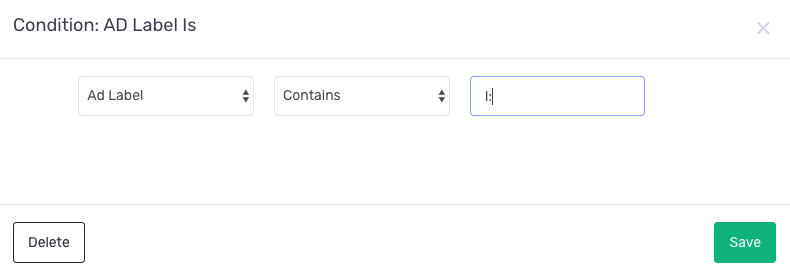
24. In the Metrics Group section, click on Ad Label is under the Attributes submenu.
25. Change the settings to the following and click Done.
- Select Ad Label.
- Select Contains
- Enter I:
26. Click and hold the Y button Ad Status element, then drag it down and drop onto the Label is element.
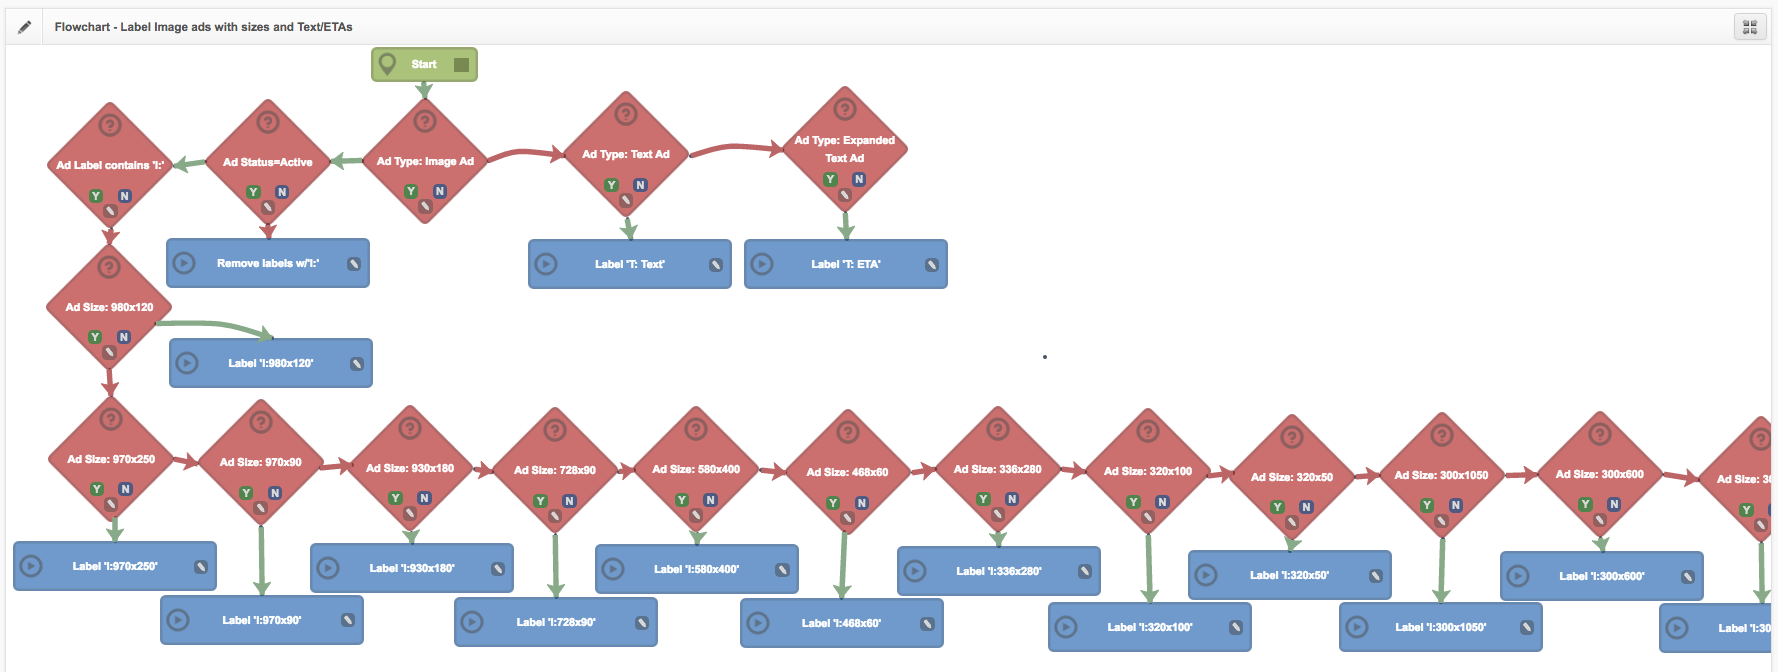
Next we're going to check each of the different image sizes and apply the appropriate label.
27. To check image sizes of ads, click on Ad Size under the Other submenu in the Metric Groups section.
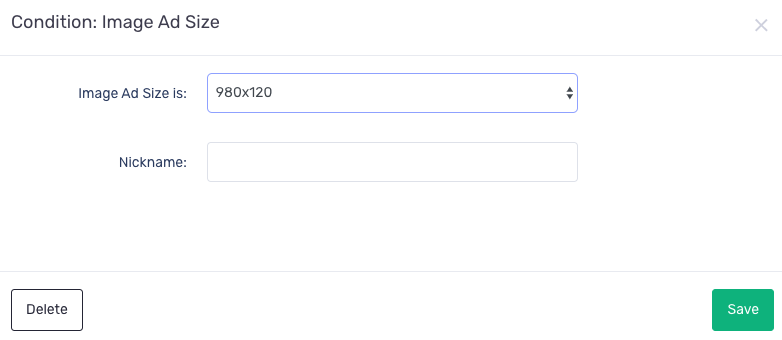
28. In the Image ad size modal, select 980x120 and click on Done.
29. Click and hold the N button Ad Label contains element, then drag it down and drop onto the Ad Size: 980x120 element.
30. In the Actions section, click on Add Label.
31. In the Add Label modal, enter I:980x120 in the text field and click Save.
32 Click and hold the Y button Ad Size: 980x120 element, then drag it down and drop onto the Label 'I:980x120' element.
33. Repeat steps 27 to 32 for all ad sizes.
- Select each ad size type in the Ad Size modal.
- Add the appropriate label in the Add Label modal.
- Click and hold the N button in the previous Ad Size element to the next one.
34. After all ad sizes have been labelled, create a label for unknown size as follows:

35. Click and hold the N button in the last Ad Size element to Label: 'Unknown Img' element.
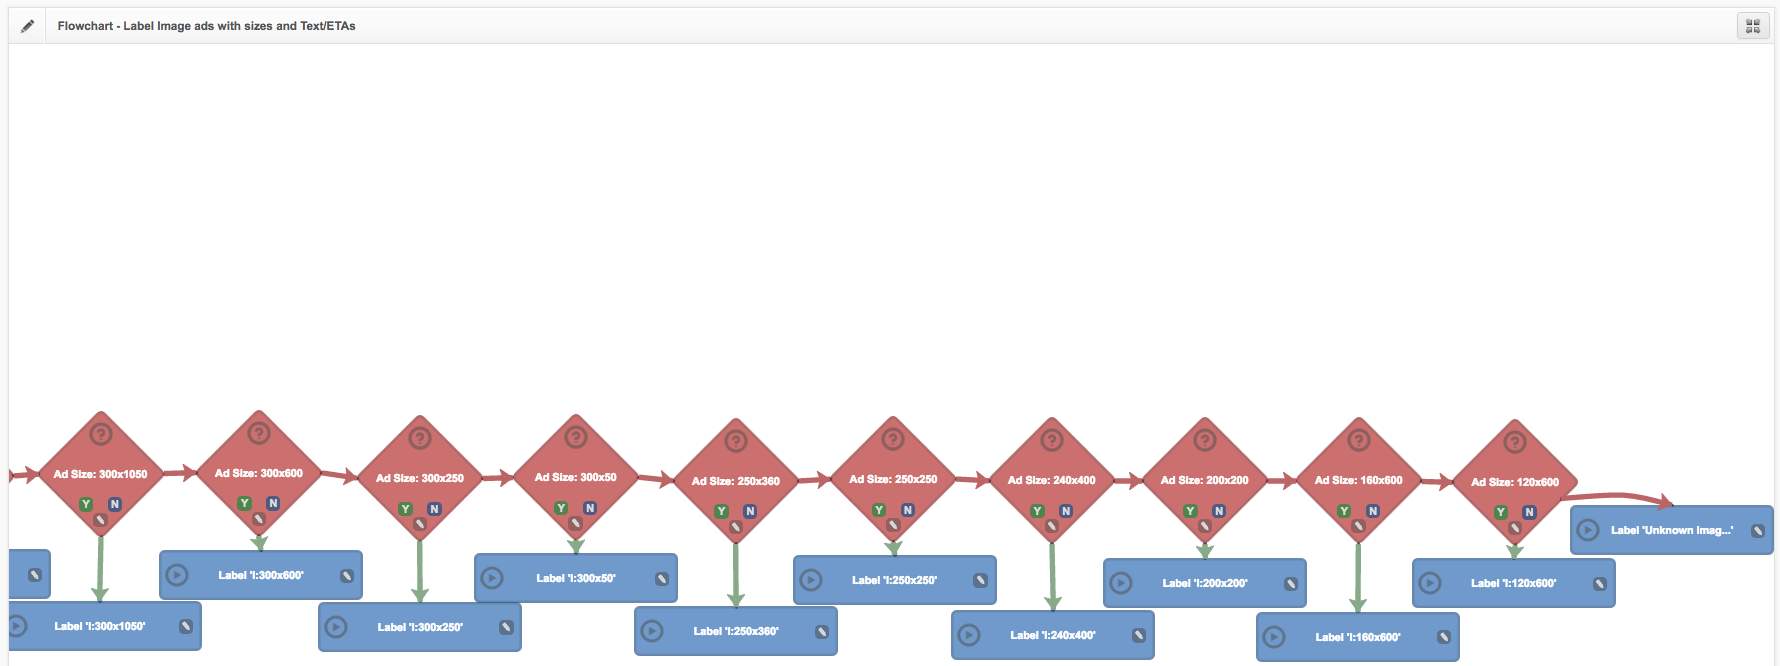
Congratulations - you have completed this process!