
Did you know that when you're viewing the output from a workflow, you can reorder or even remove the columns that relate to that workflow?
And the best part is, it's really easy to do.
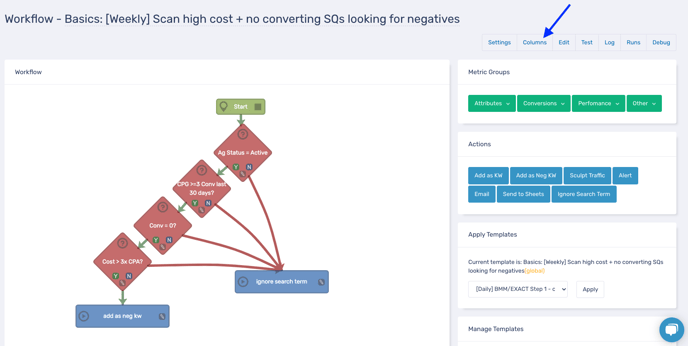
Firstly, choose the workflow that you want to update the columns for, and edit it.
On the editing window, you'll see a tab called 'columns'
In the columns window, you'll see a list of items that make up your columns
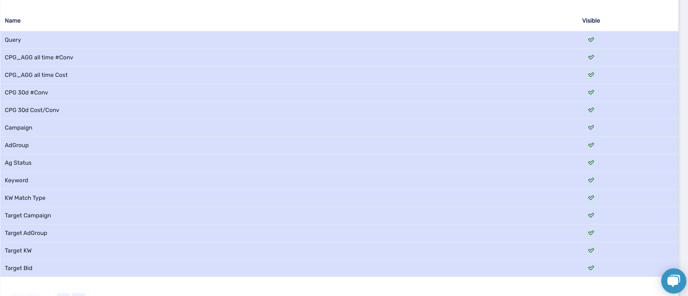
To change the order of your columns, simply click and hold an item to drag it up or down. Release your mouse click once you've got the item in the desired position.
Alternatively, if you want to prevent an item from being visible in the output (maybe if it's not relevant), simply click on that item so that it is no longer highlighted in blue.
Finally, you can set whether you want your custom column order to be applied to all your clients, to just the one process that you are editing from, or if you'd like all columns to be visible:

Once you're happy with your choices, simply hit the back button or navigate to another page, your changes will be saved automatically.