
Introduction
At PPC Sam, when it comes to managing accounts we know how important efficiency is (it’s one of the reasons we created the app!). So if you’re keen to get things done faster - especially if you have multiple users in the same account - tags will be your new best friend.
Tags work in the same way as labels in Google Ads; they allow you to add a custom descriptor in a custom colour to your customers, making them quickly identifiable.
While there are many use cases for tags, here are some examples we frequently see:
- To quickly identify whose customers are whose - add a tag with the manager name and use that tag to filter by. Great for teams and segmenting views.
- You want to filter clients by priority
- You want to filter clients by vertical
- You want to flag a certain strategy (or any important information) against a customer so it’s easily identifiable and searchable
- You’ve applied a particular workflow to a customer and want to easily keep track of those that have it.
To Create a New Tag
Within the app, go to the Performance screen. To the right of your customer’s names, you’ll see a column dedicated to ‘tags’
- Click on the three dots to open up the tag modal
- Click on ‘new tags’.
- The new tag will appear under 'Existing tags', simply click on it to change this to whatever you’d like it to be. The tag colour will default to red, but you can change this to another colour by clicking on ‘red’.
Once you’ve created your tag, click on the three dots next to each customer and choose the label you’ve created.
To Remove a Tag
If you no longer want to keep a tag, just hit ‘remove’.
How to filter by tag
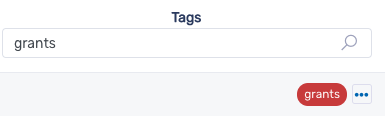
Now that you’ve got your tags created, you can filter accounts quickly on the Performance screen by typing the name of the tag in the search bar above the tag column:
How you can create views using tags
If you have multiple users and multiple customers, we’d recommend adding each account manager or team as a tag, and then creating a new performance view for that user that filters based on tags.
To do this, first tag all the customers with their respective names. Next, go to the three vertical dots next to the ‘view’ drop down in the top right hand corner of the performance screen:

In the modal, click on ‘add view’, then select ‘tags’ from the tabs, and check the ‘enable filtering by tag’ option:

You’ll then see a list of your tags - select the ones that are relevant for the user. Be sure to give your view a name that reflects the user or their agency.
Hit ‘Save View’ and that’s it. In your list of views, you’ll now find a user-specific view with the accounts that are only relevant to them!
Using tags to filter in workflows
One of the cool features of tags is that you can actually use them to filter within a workflow! For instance, if you have a particular workflow that you use for e-commerce accounts, vs lead generation accounts, you can include a step in the workflow that will look for and filter for the PPC Samurai tag that you’ve assigned to your e-commerce accounts. That way, you can apply your workflows to all accounts but be confident that when needed, only relevant accounts are being assessed by the workflow.
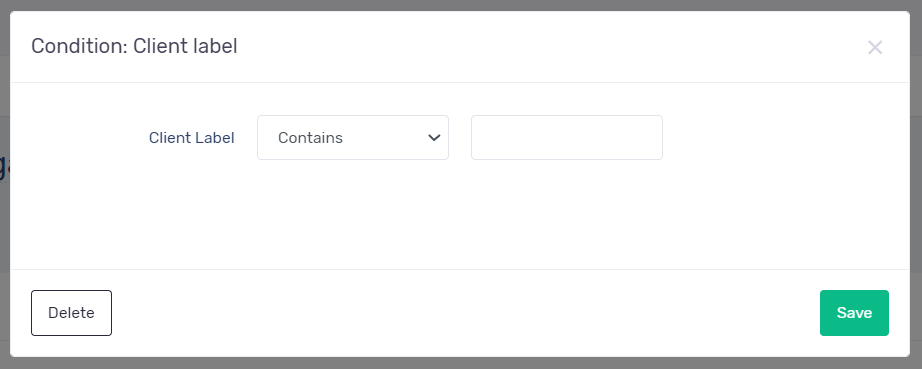
To add this step to a workflow, navigate to the ‘Edit’ section of a workflow and click on Other -> Client Label Is. From there, enter your tag name that you want to assess in the workflow and hit save.
If you have any questions about using tags, please don’t hesitate to reach out to our support team at support@ppcsamurai.com. Enjoy life in the fast lane!
PPC Sam